How to Build a Simple Workbench for a Small Garage
By Woodshop Blueprints ·
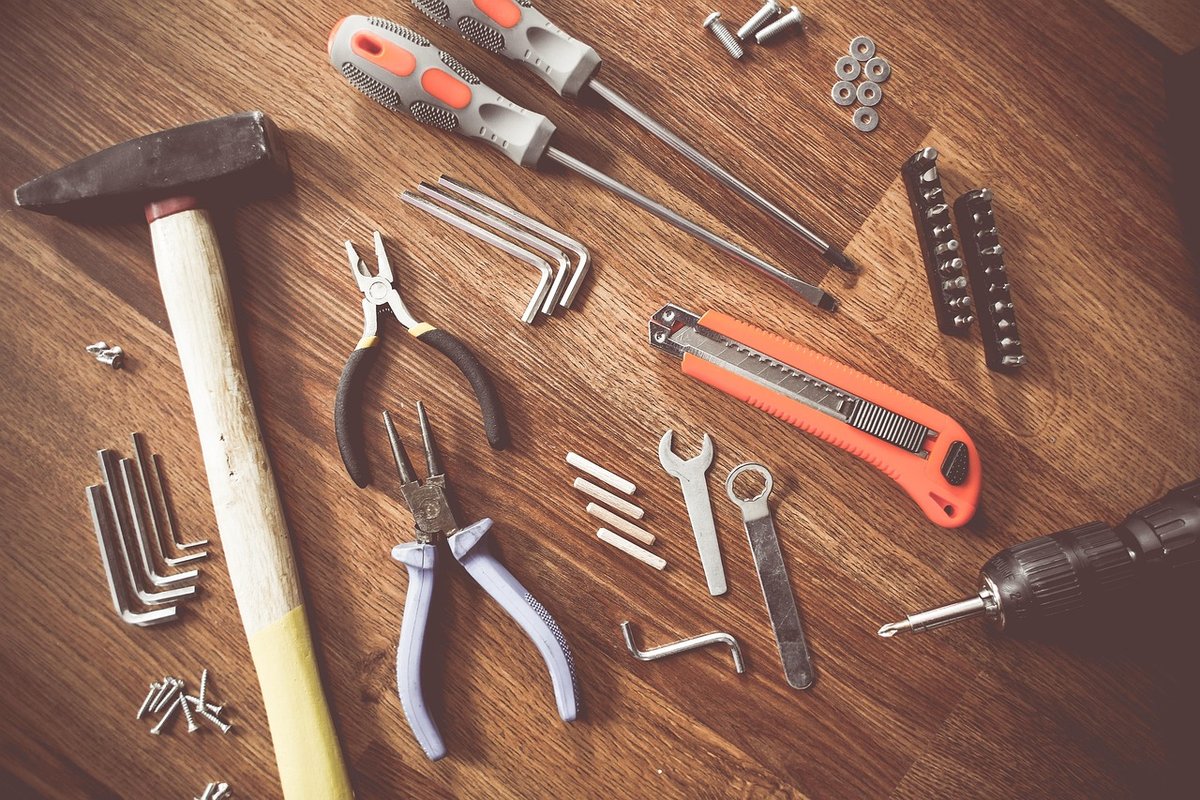
You pull into the garage after work. The car takes up most of the space. Your drill, a box of screws, and a half-built birdhouse sit on top of the dryer, because there is nowhere else to put them.
A small workbench can fix that. It gives you one solid spot to measure, cut, and build. A simple bench does not need fancy tools or a big budget.
Start With Your Space
Before you buy any wood, measure the wall where the bench will go. Check for outlets, windows, and the path your car door swings through. A bench that blocks the car door gets old fast.
Use painter's tape to mark the bench outline on the floor and wall. Leave it there for a few days. Walk around it, park the car, and see how it feels.
Pick the Right Size
In a small garage, smaller is often better. A shallow bench takes less floor space and still holds most projects. Many people find that about two feet deep works well against a wall.
For height, stand up straight and let your arms hang. A comfortable top often sits near your wrist or a little lower. Tall people may want it higher, and anyone who does a lot of hand planing may want it lower.
Choose a Simple Design
The easiest bench for a beginner is a basic box frame. It has four legs, two rectangle frames, and a top. A lower shelf adds storage and makes the whole thing stiffer.
Here are a few good options for small spaces:
- Wall-backed bench: The back edge attaches to wall studs, so it stays steady.
- Fold-down bench: Hinges let the top fold flat against the wall when you need the floor.
- Rolling bench: Locking casters let you move it out of the way. Pick casters that lock both the wheel and the swivel.
Gather Your Materials
Common framing lumber, like 2x4s, is cheap and easy to find. Look for boards that are straight and dry. Sight down each board at the store and skip the ones that twist or bow.
For the top, many builders use plywood, or two layers of plywood glued together. Two layers give you a thicker, flatter surface that does not bounce. A thin sheet of hardboard on top makes a smooth face you can replace later.
You will also need:
- Wood screws long enough to bite well into the second board
- Wood glue
- A tape measure, square, and pencil
- A saw, such as a circular saw or hand saw
- A drill and driver
- Clamps, if you have them
Many home centers will cut plywood to size for you. This makes the sheet easier to fit in your car. It also saves you a tricky cut at home.
Build It Step by Step
- Cut your parts. Cut all the legs to the same length. Clamp them together and mark them as a group so they match.
- Build two frames. Make one rectangle frame for the top and one for the lower shelf. Use glue and screws at each corner.
- Check for square. Measure corner to corner both ways. If both numbers match, the frame is square.
- Attach the legs. Screw the legs to the inside corners of the top frame. Then set the lower frame at shelf height and attach it.
- Add the top. Set the plywood on the frame with a small overhang at the front. Screw it down from above.
- Add the shelf. Lay plywood on the lower frame. It will hold tools and add helpful weight.
Stop the Wobble
A wobbly bench is no fun to work on. Glue and screws at every joint help a lot. A shelf, a back panel, or diagonal braces will stiffen it even more.
If your garage floor slopes, you can add adjustable feet. You can also shim the short leg with a thin scrap of wood.
Make It Work Harder
Once the bench stands, a few small add-ons make it much more useful. You can add them over time.
- A pegboard on the wall above the bench for hanging tools
- A power strip mounted under the front edge
- A bench vise or a few good spots to clamp work
- A shop light right above the top
Keep the top as clear as you can. In a small garage, a bench can quickly turn into a shelf for clutter. A quick clean-up after each project keeps it ready.
Finish and Protect the Top
A light finish helps the top resist glue, paint, and spills. A few coats of a simple oil or wipe-on finish work well. Skip a thick, glossy coat, because it can make parts slide around.
Sand off any sharp corners and edges. You will lean on this bench a lot. Soft edges are kinder to your hands and hips.
Work Safely
Wear safety glasses and hearing protection when you cut. Keep the saw cord away from the blade. Clamp boards down instead of holding them with your hand near the cut.
If you attach the bench to a wall, screw into studs, not just drywall. A stud finder makes this easy.
Take Your Time
Your first bench does not need to be perfect. It just needs to be solid, flat, and the right height for you. Every project you build on it will teach you something for the next one.
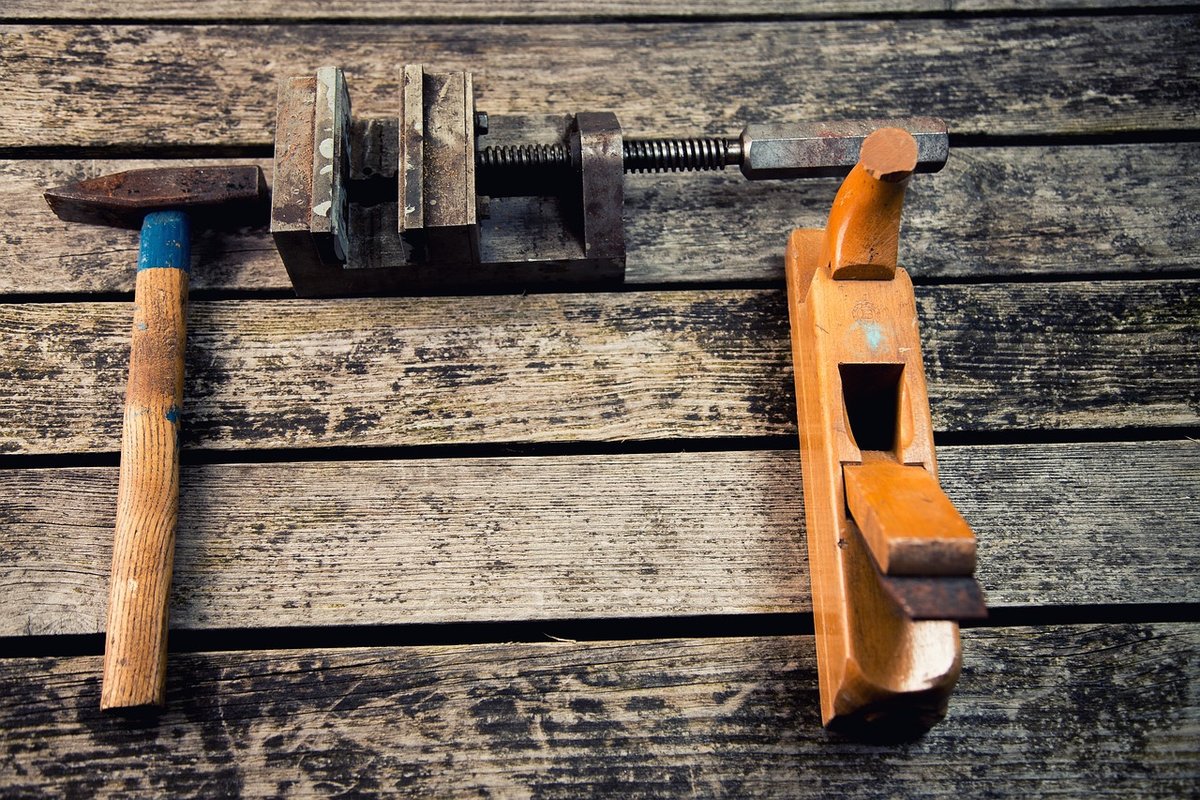
Power tools can cause serious injuries, so if you are unsure how to use one, ask a qualified instructor or experienced woodworker for hands-on help.
If you want more help planning your garage shop, take a look at our full guide.
We may earn a commission if you buy through links on our guide. Individual results vary. Always follow safe tool and workshop practices.